Organizer Advantage is powerful yet easy to use database manager for Windows.
Advantage Designer lets you modify our solutions or easily create new databases.
Take control of your data with our simple or buinsess database software solutions.
| Organizer Advantage HowTo/Help | Designer HowTo/Help |
Advantage Help > Labels > Print Labels Window
- Organizer Advantage
- Getting Started Videos
- Main Window
- Tabbed Toolbars
- Add Data
- Reports
- Labels
> Print Labels Window
- Save, Organize Labels
- How To .. - Search, Replace
- HTML Reports
- HTML Wizard
- Import, Export
- Backup, Restore
- Options
- Statistics, Views
- Templates
- Add-Ons
- Install, Network
- Web Search, Add Data
- Premium
- Upgrade, Update
- Organizer Deluxe, Pro Users
- More
Print Labels / Options
Label options are grouped on tab pages. In order to define labels set your options.
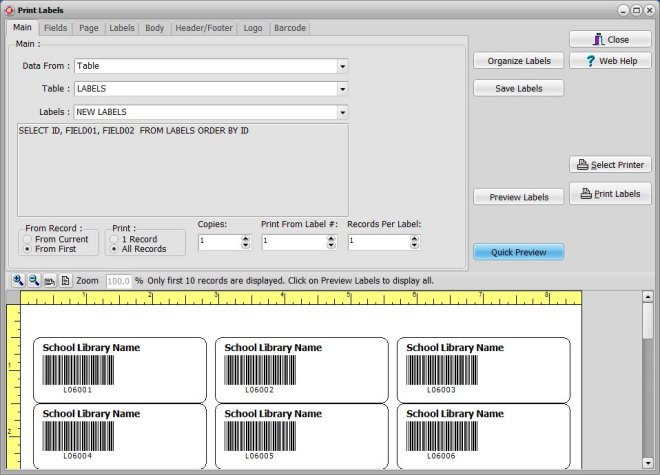
Main
The main page displays information about the label report: source of the data, table name, label report name, report description.
You can save label options in the label template (for example, to print one label with the content of the selected record, set the following option: From Current and 1 Record).
Scope, Number Of Copies, Label Starting Position
- From Record: print from the current record (the selected record on the grid), print from first (default setting).
- Print Scope: print one record, print All records (prints all displayed records).
- Copies: how many times each record has to be printed on the label sheet.
- Print From Label #: enter the starting position on the label sheet.
- Records Per Label #: how many records have to be printed on a single label.
Data Fields
On the Data Fields page select the data fields that you want to include in your label report (highlight a field on the left-side list and click on the Green Arrow button. If you want to include next field in the same line or column then press on the Plus button.). If you want to print a barcode label select the field that represents a barcode and then define barcode parameters on the Barcode setup page.
For the selected field you can set the following:
- Attributes: bold, italic, underlined
- Justification: left, center, or right.
- Properties: skip blank fields, no text wrapping, space new line
Skip Blank Fields: if checked, a blank line is not printed when a data field is blank.
No Text Wrapping: only the part of the text that fits into one line can be printed. Set layout options for selected fields (bold, italic, underlined, justification).
Space->New Line: space breaks to new line (useful for printing book spine labels).
Picture Width: defines the width of the image for the selected image field(s).
Note: in the All Fields box there is $SPACE. You can include spaces or empty lines when printing labels.

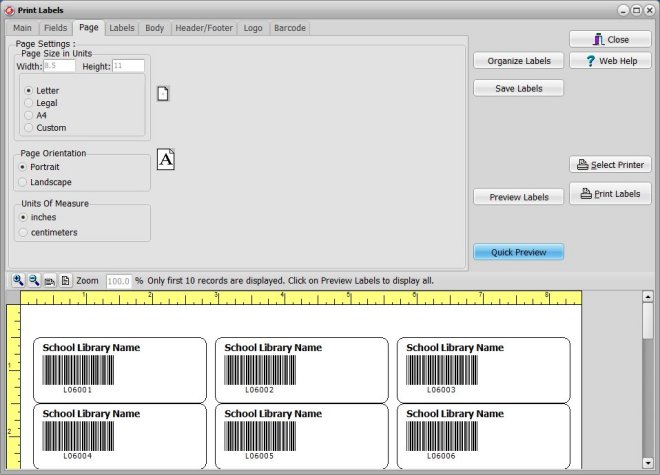
Page
You can set page margins, page size, and page orientation.
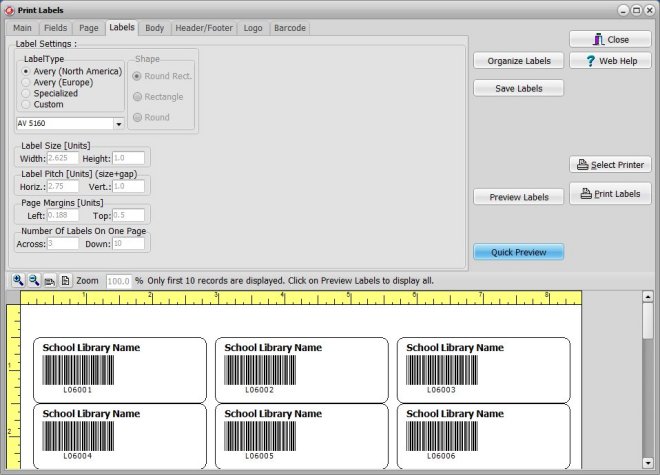
Labels
On the Label page either select one of the predefined Avery labels or create a custom label type.
I have to include the list of all predefined label types, cross reference.
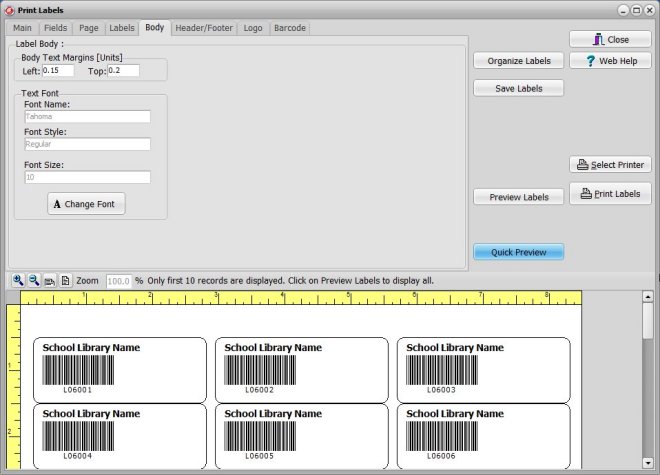
Body
Select the font type, style, and size; define margins for the label body text. All selected fields will use the same font settings.
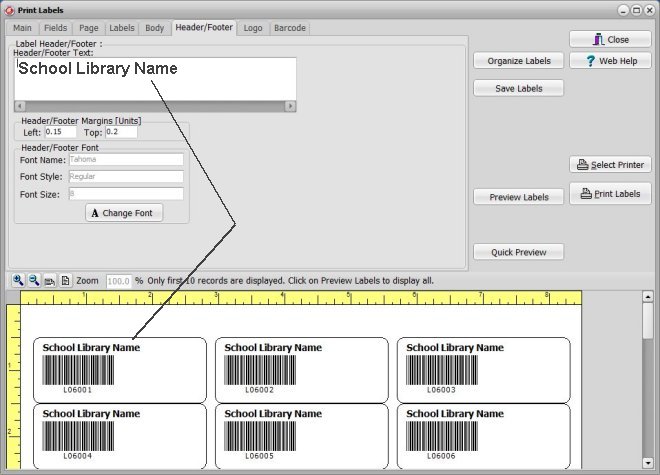
Header/Footer, use text
If you want some text to be identical on all labels define a header/footer on the Label Header/Footer page. Select the font type, style, and size; define margins for the header/footer section.
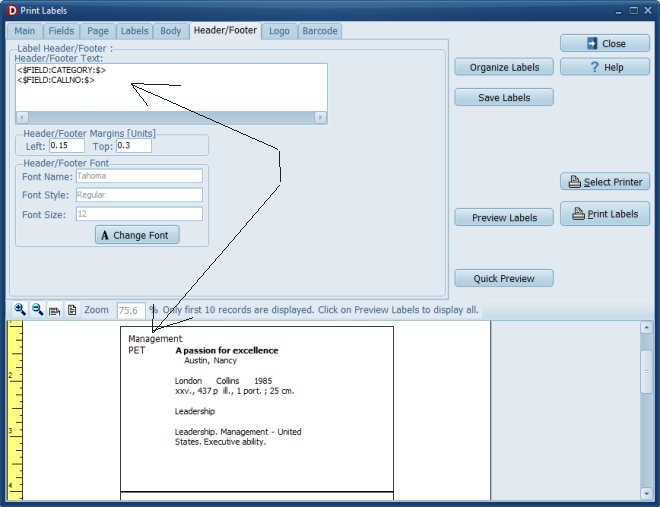
Header/Footer, use data from the table
In the Header/Footer, you can include data from the data fields. Use keywords that represent data fields. <$FIELD:FIELD_NAME:$>
For example, in the book title card, you can display the book category and the call information on the left side of the card.
Logo
If you want to include a graphic image on your labels select an image file and specify the image position.
Barcode
Select the bar code parameters on the Bar Code Settings page for the "bar code" field.
- Bar Code Type: select bar code type; In 99% of cases you will use CODE 39 or Code 128 A barcode types. Those types are popular for creating barcode inventory labels, id tags, id cards, spine labels, location code labels.
- Font Name: select font type for the text (if Text Readable option selected); Height Scaling: allows you to define the height of the bar code;
- Text Readable: if checked the text is printed under the bar code;
- Rotation: define the rotation of the bar code;
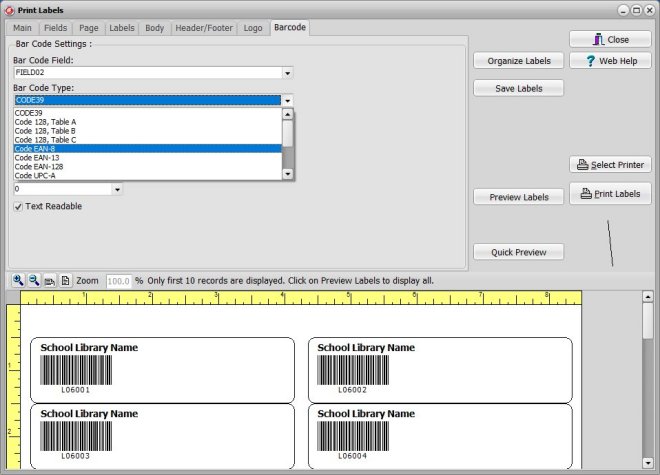
Organizer Advantage supports the following bar code types:
- CODE39
- Code 128, Table A
- Code 128, Table B
- Code 128, Table C
- Code EAN-8
- Code EAN-13
- Code EAN-128
- Code UPC-A
- Code UPC-E
- Code 2of5 interleaved
- Plessey barcodes
- Code A Bar (also known as "USD-4", "NW-7", "2of7")
- US Postnet
- Postnet FIM
After the label has been created you may want to test it by clicking on the Preview button. If you are not satisfied with the layout adjust the label options and Preview it again.
If you think you may want to use this label definition in the future Save the setting as a Label Template by clicking on the Save button. Later you can reuse the saved label by clicking on the Load button.
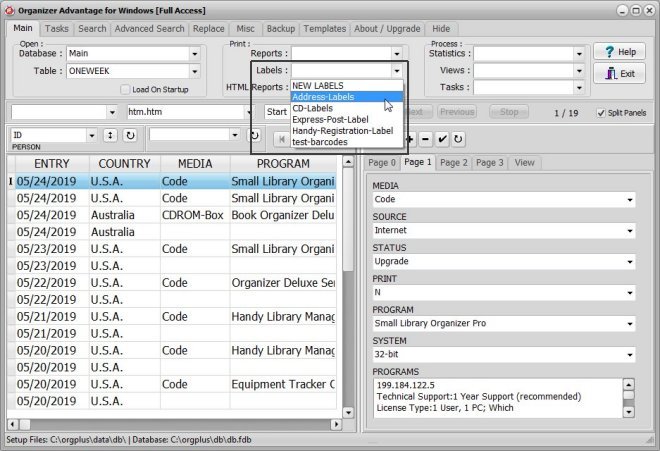
Saved labels are also accessed from the Main toolbar.
Copyright © 2024 · All Rights Reserved · PrimaSoft PC