Important

  • Organizer Advantage and Handy Managers are replacing Deluxe/Pro software.
  • We recommend our new software to Windows 10, 11, and above users.
  • We continue supporting all Deluxe/Pro users but do not plan to release updates.

New Software for Windows: review, download, and test


Compare


Organizer Deluxe & Organizer Pro Help Center

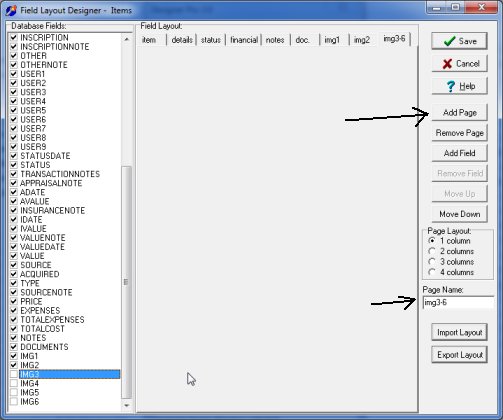
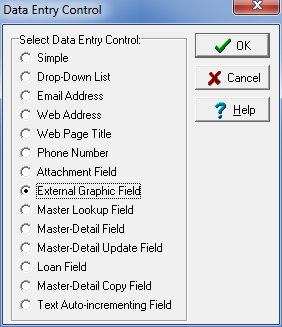
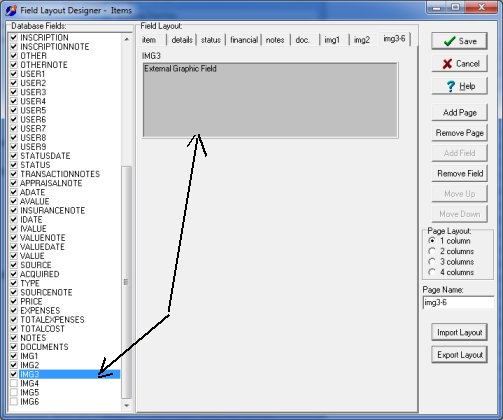
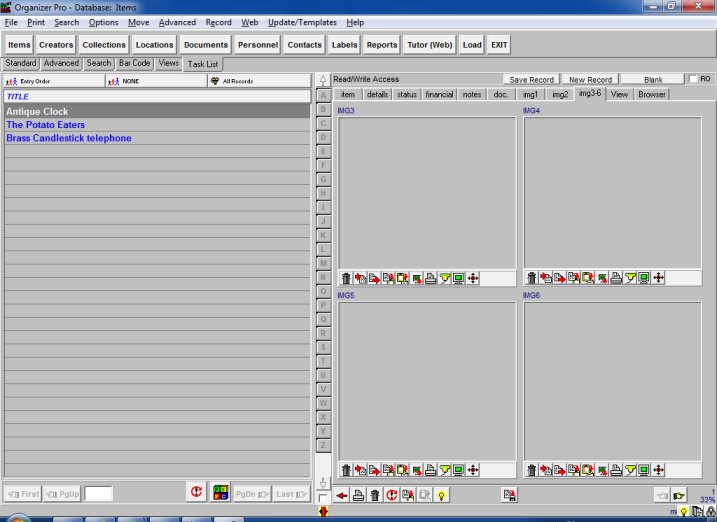
   Database Management FAQ : Database Fields : Museum Inventory, add image fields

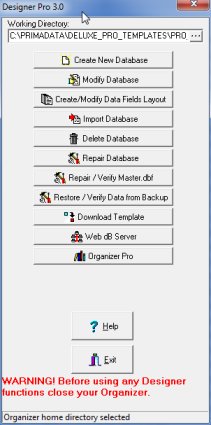
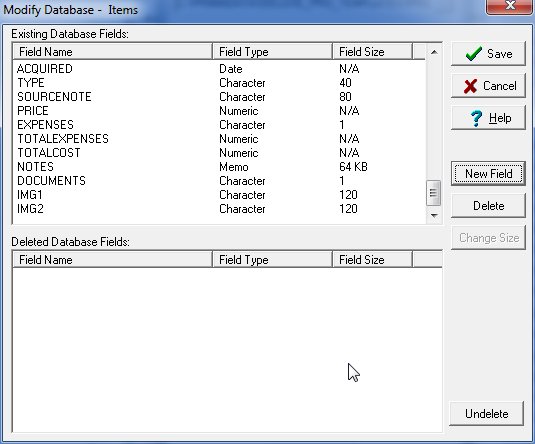
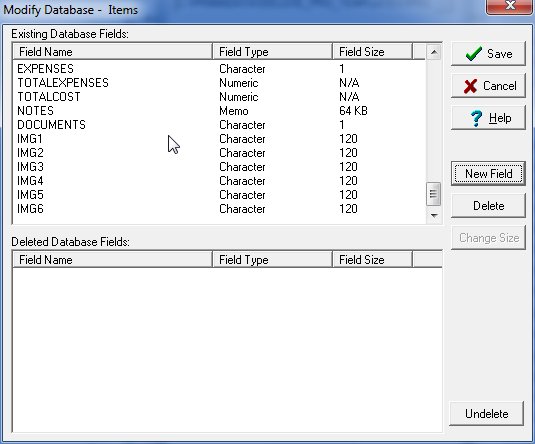
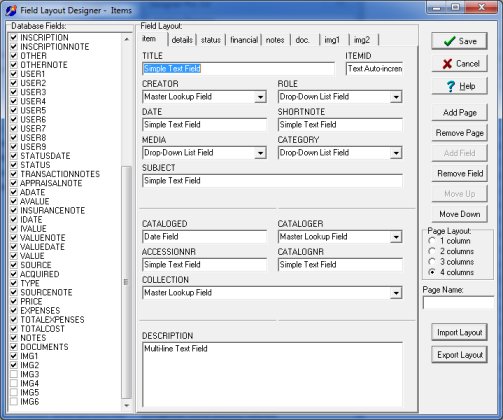
Question/Topic: How to add image fields to museum inventory database?


  • Start Designer.
  • Click Modify Database.


  • Load Items database.
  • Click New Field.


  • New Database Field:
  • Field Name: Enter field name "IMG3"
  • Field Type: Select Character
  • Field Size: Enter 120 (the maximum length of the field)


  • Modify Database window with Items database.
  • 4 new character data fields are added: IMG3, IMG4, IMG5, IMG6
  • Image Data Entry Control is going to be defined later.
  • Click Save to save changes.


  • In the Designer click Create/Modify Database Fields Layout.
  • Select Items database.
  • Field Layout Designer window is opened.
  • If you make any unintentional change click Cancel and open this window again.
  • Database Fields box: use scroll bar to display data fields.
  • Add Page: click Add Page to add a new page.


  • New page is added.
  • Page Name: enter a new page name.


  • Click on the IMG3 data field.
  • It opens Data Entry Control window.
  • Select External Graphic Field. Click OK.


  • New IMG3 data field is inserted.


  • Continue the above steps with IMG4, IMG5, and IMG6 data fields.
  • 4 new database fields, with image data entry control type are added.


  • You can click Save to save all changes.
  • If you want to display fields in two columns click 2 columns and then click Save.


  • Close Designer.
  • Start Organizer Pro.
  • Load Museum inventory database.

Related Topics ...


Related products ...
Organizer Deluxe Series
Organizer Pro Series


Question:


Copyright © PrimaSoft PC, Inc. All rights reserved.