Question/Topic: How to create a new user account and let users of this account to access public databases in the read only mode?
How to create a new user account and let users of this account to access public databases in the read only mode?
Step 1:
- Start Organizer.
- Click Options.

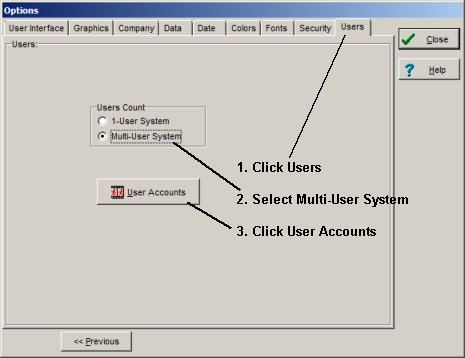
Step 2:
- Click Users tab.
- Select Multi-User System.
- Click User Accounts button.
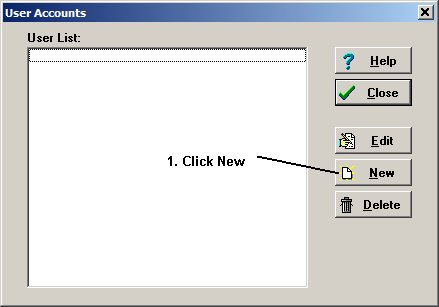
Step 3:
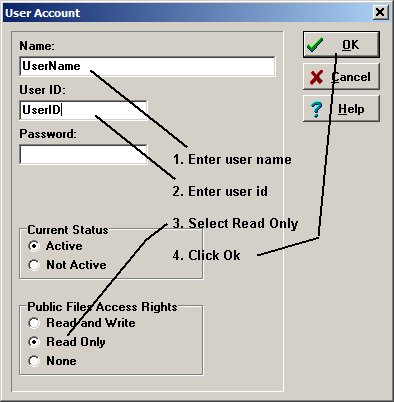
Step 4:
- Enter user account name.
- Enter user id (will be used when a user logs into the program).
- Select Read Only.
- Click OK.
Note: The Supervisor's private directory serves at the same time as a Public Directory.
All users can access the Public Directory (unless the Supervisor revokes their access privilege).
This option is defined when the user account is created/modified.
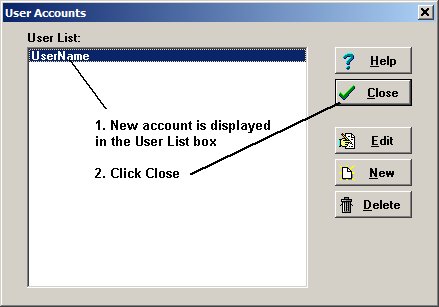
Step 5:
- User Accounts window displays a new user account.
- Click Close.
Note:
When you create a user account the program creates a new folder. In this
folder, the program stores new data files created by the user.
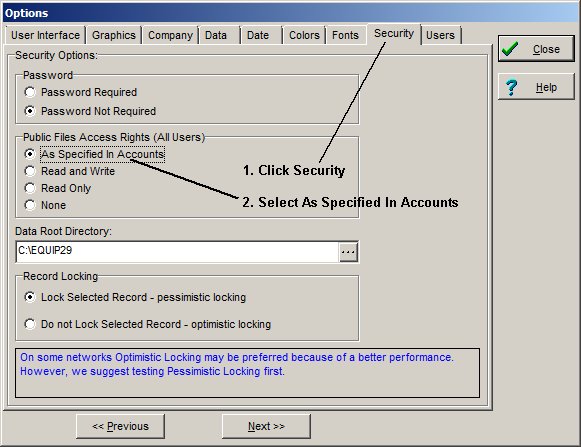
Step 6:
- Click Security tab.
- Select As Specified In Accounts
Note:
In this help topic
Password account access option is set to
Not
Required. When you change this option to
Password Required you are
responsible for managing passwords. Each time when you start the program you (or
user) will have to enter
user name and
password.
Step 7:
Step 8:
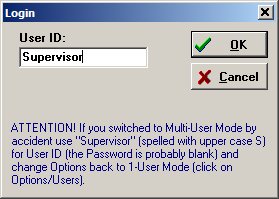
- Start the Organizer.
- Now the program opens Login window.
- Enter user id into a Login window:
a) Enter Supervisor to open the main account (public account, supervisor
account).
b) Enter UserID to open the new account.
a)
b:

Step 8:
- The first time when the new user starts application, the Organizer opens
with the default database that is created in the user's private account (subfolder).
- To change the access to public database account click File/Load Database.

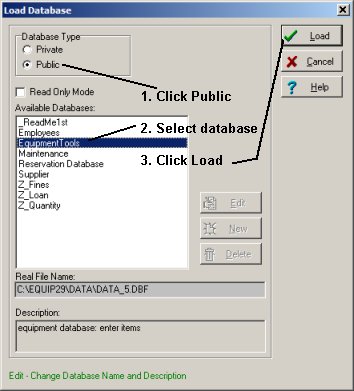
Step 9:
- In the Load Database window select Public.
- Databases from the public account are displayed.
- Select the file listed in the Available Databases box and click
Load.
- The program remembers last settings and next time will start with a database
from the public account.
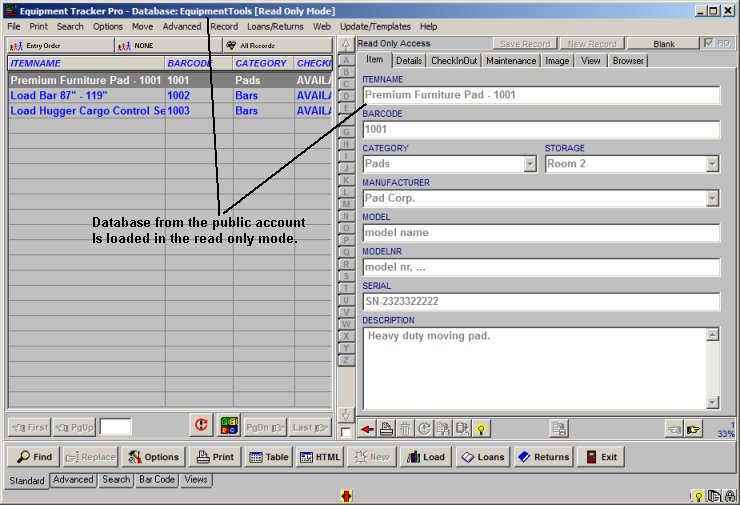
Step 10:
- Selected database (file) from the public account is displayed (in this case Read Only
Access Mode).