Database Management FAQ : Print Reports : Print Church Members Directory, Photo Directory
Question/Topic: How to print photo directory (church photo directory, member director, employee directory)?
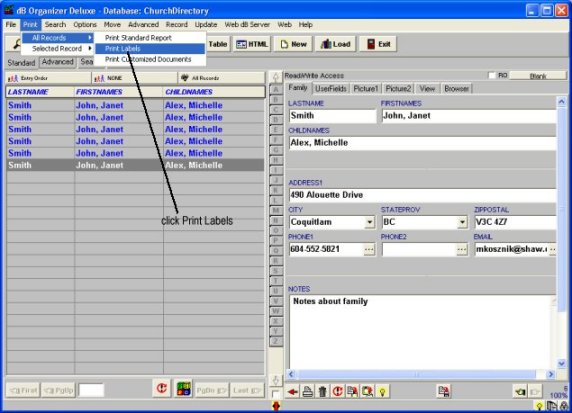
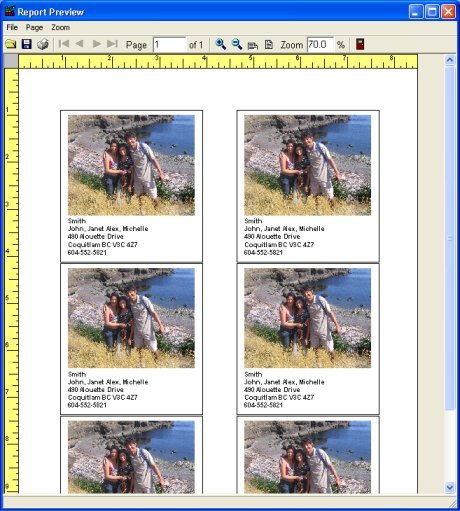
How to print photo directory? (church photo directory, member photo directory, employee directory,..)
Note: report sample based on the Church Directory Manager database solution.
Related software (Read/Download) :
Church Directory Manager
Employee Phone Directory Manager
Related Topics ...
How to print member/patron id cards?
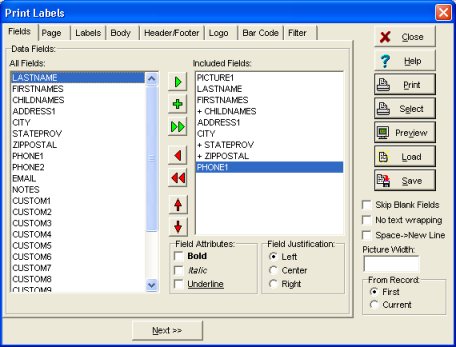
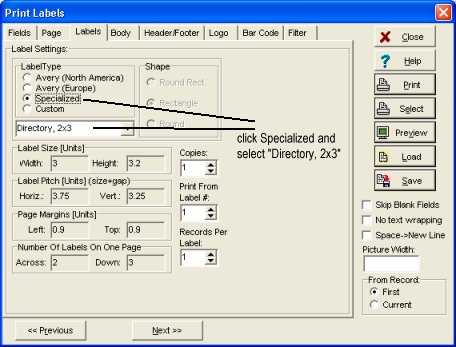
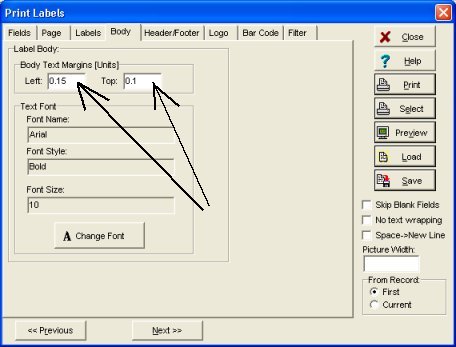
How to print address label ?
Related software (Read/Download) :
Church Directory Manager
Employee Phone Directory Manager
Organizer Deluxe Series
Organizer Pro Series