Question/Topic: How to start, how to print purchase orders ?
Step 1: Enter your company data
- Click Options menu command. Click Company tab.
- Enter information about your company/organization.
- Name, address, phone, fax, web information will be included automatically on each printed purchase order.
Step 2: Enter your ship to and bill to addresses
- Open Addresses database.
- Enter all your shipping and billing addresses.
Step 3:
Enter Vendors and Suppliers data
- Open Vendors database.
- Enter your vendors and suppliers general information.
Step 4: Enter items (product, services) data
- Open Items database.
- Select Vendor in the Vendor field, enter all product/service data.
- You can enter name, category, unit, cost, user fields, and note.
- Category or User Fields are useful for product selection, search, filter, summaries and analysis.
Step 5: Create purchase order record and print purchase order
- Open Purchase Order database.
- On the File menu click New Record, you can also click New button on the Tool bar.
- New entry form (right side) is ready to accept data entries.
- On the File menu click Save Record to save data.
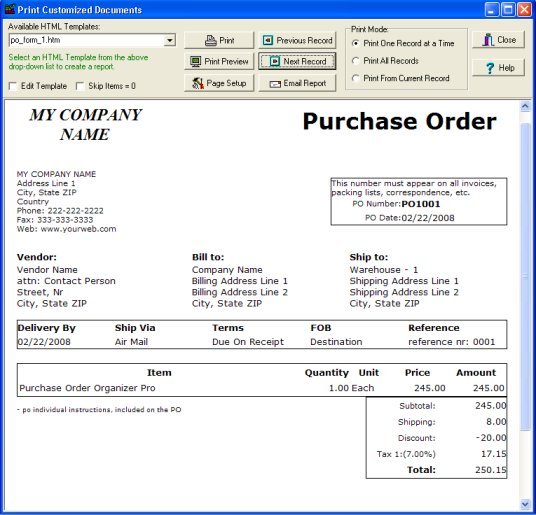
Step 6: Print purchase order
- On the Print menu click Print Selected Record and then click Print Customized Documents.
- Select PO_Form_1 or PO_Form_2 in the Available HTML Template.
- Click Print to print the purchase order.