Organizer Advantage is powerful yet easy to use database manager for Windows.
Advantage Designer lets you modify our solutions or easily create new databases.
Take control of your data with our simple or buinsess database software solutions.
| Organizer Advantage HowTo/Help | Designer HowTo/Help |
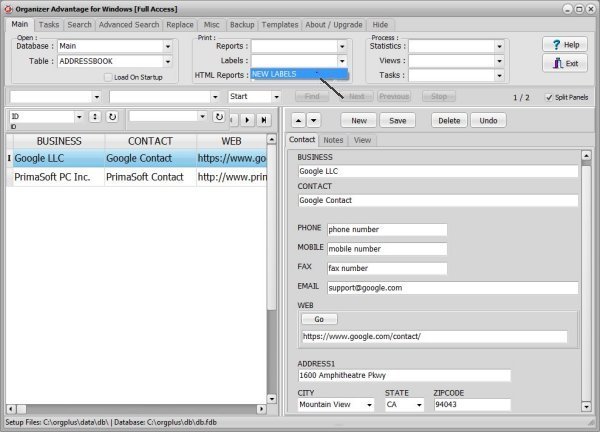
Advantage Help > Labels > How To > How to create address labels?
Print Address Labels
This tutorial explains how to create and print address labels from database records in the software.
Use address labels for mailing lists, customer records, contact databases, and other PC database applications.
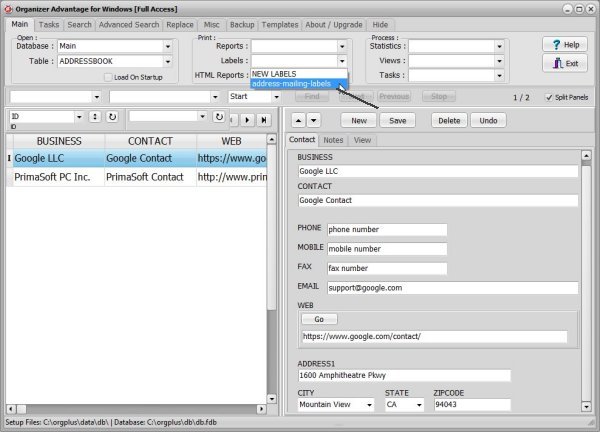
Open Organizer Advantage with the ADDRESSBOOK table. Select New Label in the Labels list box.
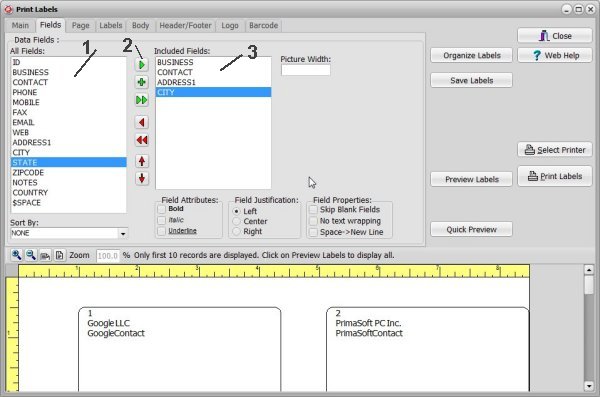
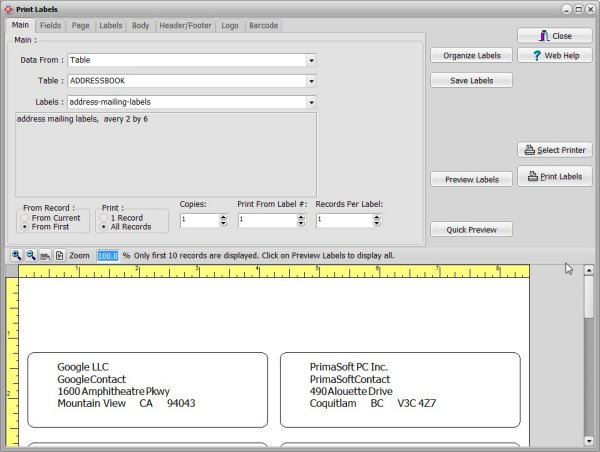
In the Print Labels window click on the Data Fields tab (1). The New Labels window always opens with 3 preselected data fields (2), to remove them click the double Red Arrow icon (3).

Scroll down and up in the All Fields (1) box and select the following data fields: BUSINESS, CONTACT, ADDRESS1, CITY + $SPACE + STATE + $SPACE + ZIPCODE.
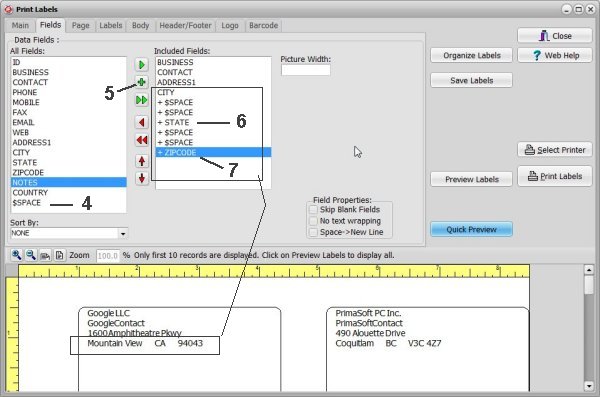
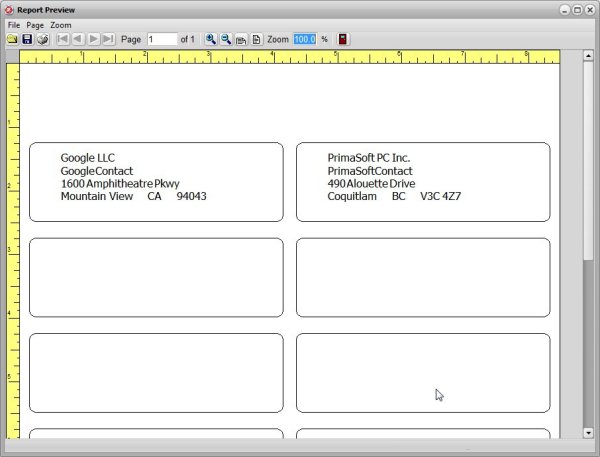
Select BUSINESS in the All Fields box (1) click the Green Arrow icon (2) to include the field in the Included Fields box (3), do the same with CONTACT, ADDRESS1, CITY. All those fields will be listed in separate lines. For better readability we want to add a gap after CITY. Select the $SPACE item (4) and click on the Plus icon (5), it means the small gap will be added. Now select STATE and click the Plus icon (6) (the Plus icon adds the field into the same line), add the $SPACE item again and then ZIPCODE (7). Click the Quick Preview button to review changes.
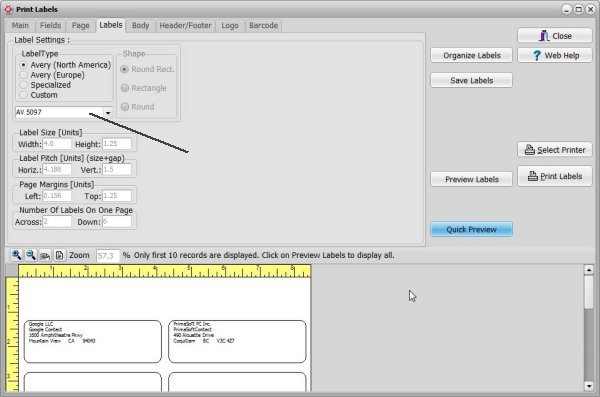
On the Labels page select AV5097. Click the Quick Preview button to review changes.
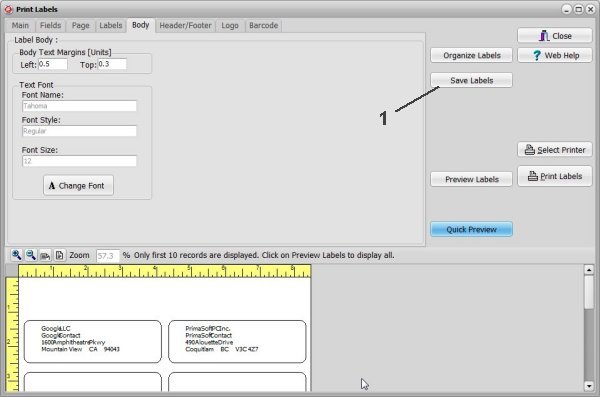
On the Body page define the label margins and choose the font size and type. Click the Quick Preview button to review changes. Click the Preview Labels button to review all labels. You can click the Save Labels button (1) to save the label for the future use.
New address mailing labels template is listed in the Labels box.
Copyright © 2026 · All Rights Reserved · PrimaSoft PC