Pro Database Solutions: > Check In/Out Organizer Pro (track quantities version), How to start:
Question/Topic: How to start using Check In/Out Organizer Pro (check items in and out in quantities)?
How to start using Check In/Out Organizer Pro (check items in and out in quantities) for Windows?Step 1:
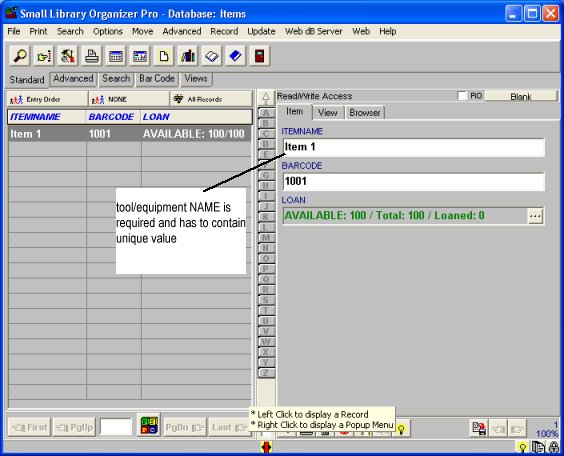
Enter tools and equipment items and quantities into Items database.
Requirements:
Notes:
Enter tool/equipment data:
Enter tool/equipment initial quantity
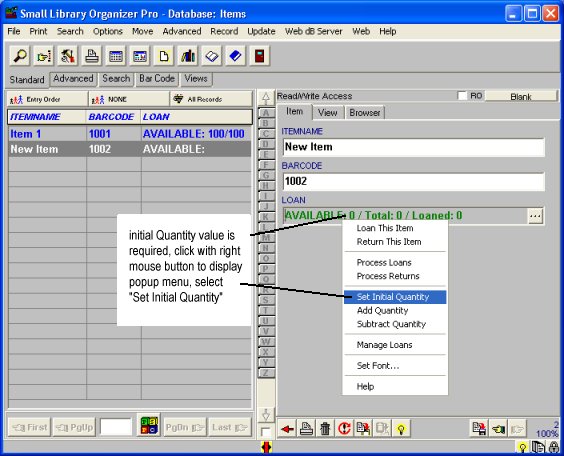
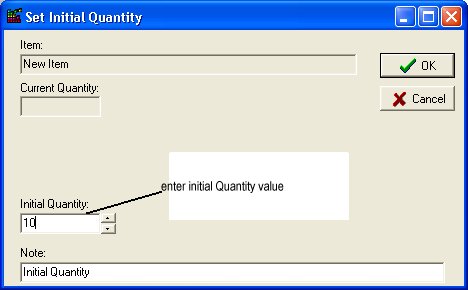
Enter the initial number of items
Step 2:
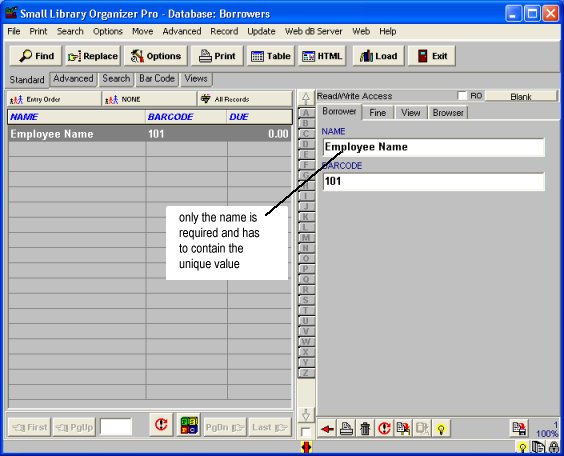
Enter names data into Borrowers database.
Requirements:
We know that some small organizations do not use barcode scanners and barcode labels when processing check in/out transactions. In order to support this feature our tool/equipment tracking system requires unique entry into NAME field. Values of the NAME field have to be unique.
If you have 2 or more employees (job sites or borrowers) with the same names, enter them in the following way:
"John Green 1"
"John Green 2"
Enter names:
Step 3:
Define due date (default value is 10 days), fine(optional) and barcode(optional), and other loan parameters.
Step 4:
Your software system is ready to process check in (return) and check out (loan) transactions.
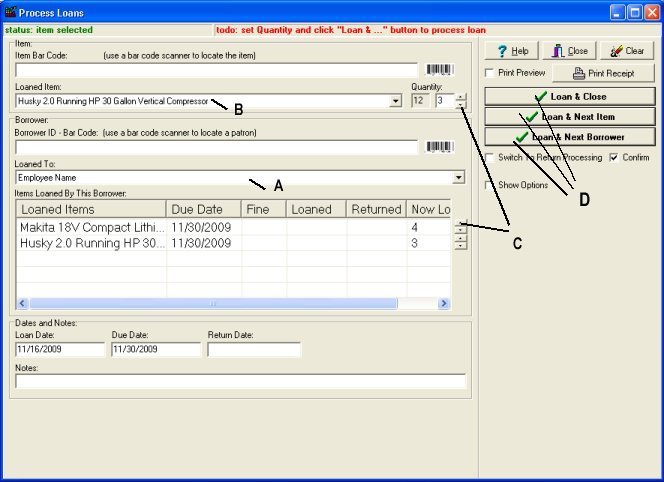
Loan management window, select borrower(A), select item(B), enter quantity loaned(C), click action button to finalize loan/return transaction(D) (manual selection/entry mode):
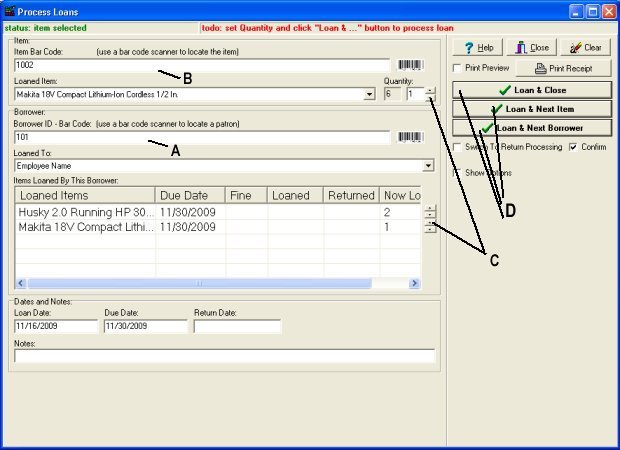
Loan management window, scan borrower id barcode number (A)(or enter id manually), scan item barcode number (B) (or enter manually), enter quantity loaned (C), click action button(D) (barcode entry mode):
You can process tool/equipment check-out and check-in transactions if the Equipment/Tool database is loaded or using Check In/Out module (stand-alone application).
Three easy ways to access circulation features:
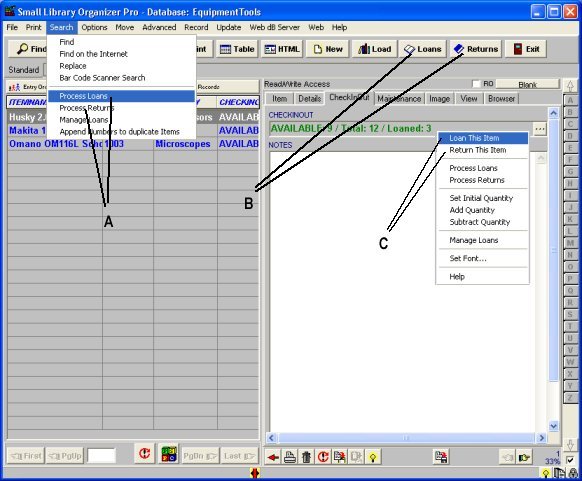
Check In/Out Transaction module allows to process loan / return transactions without launching database management software. Your databases are protected from unwanted modifications and users.
Read more:
Related software (Read/Download) :
Check In/Out Organizer Pro (by quantity)
Equipment Tracking Database, by quantities
Related Topics ...
Related software (Read/Download) :
Check In/Out Organizer Pro (by quantity)
Equipment Tracking Database, by quantities