Help, how to topics > Equipment/Tool Database Options > How to edit list boxes?
This topic explains:
- How to edit dropdown lists?
- How to preload dropdown lists for the data entry personnel?
- Learn about different types of dropdown lists: auto-add, locked (fixed), editable?
Category, Type, Location, Manufacturer, and many other "group" data fields use drop-down lists.
You can either type text in the edit box or select an item from the list. The predefined lists can be edited in Options/Dropdown Lists window. List boxes speed up data entry procedures. Instead of entering the whole text you can select the value from the list.
There are three types:
Locked: administrator should define list values in the Dropdown Lists window. Locked data entry allows to select the value from the predefined list. New values can't be added by data entry personnel. If you have fixed number of equipment locations, you can use this type.
Editable: predefined values and new values could be entered by the data entry personnel. New items are not added to the predefined list.
Auto-Add (default setting): There is predefined dropdown list. Equipment data entry personnel are allowed to choose items from the list or enter new ones. New items are automatically saved for the future use. This option is the most flexible especially when setting the system.
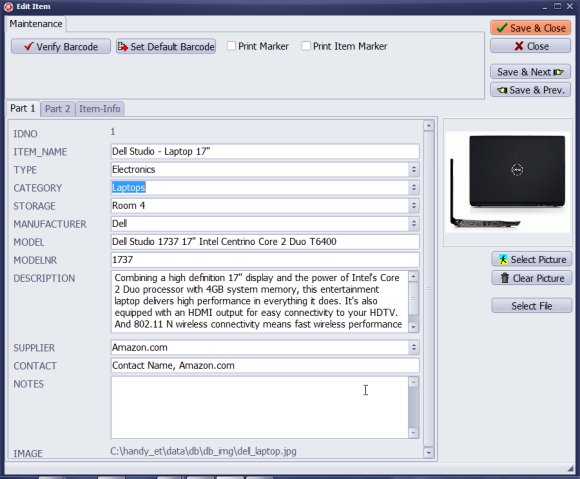
Equipment, Tool Add/Edit window displays several dropdown lists: TYPE, CATEGORY, STORAGE, MANUFACTURER, SUPPLIER, LOCATION, STATUS, CONDITION (inventory database).
Borrower/Place Add or Edit window displays several dropdown lists: TYPE, JOB_PROJECT, CITY, STATE (borrower database).
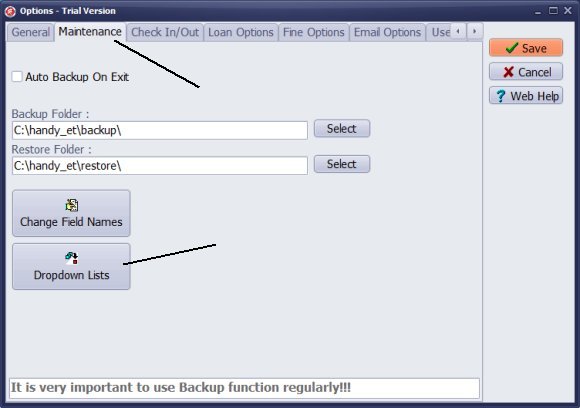
Click Options/Maintenance to access Dropdown Lists function.
There are several data fields that have already a dropdown list data entry control.
Check mark in the front of the text field defines dropdown lists.
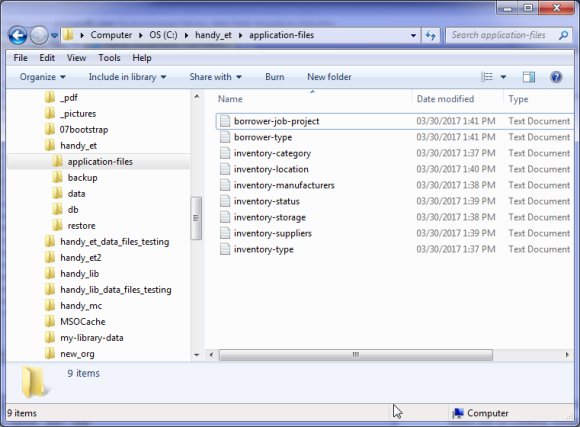
On you computer create a new folder. In this folder store your "dropdown list" text file. Use Windows Notepad to create/edit those files. Enter list values, one per line.
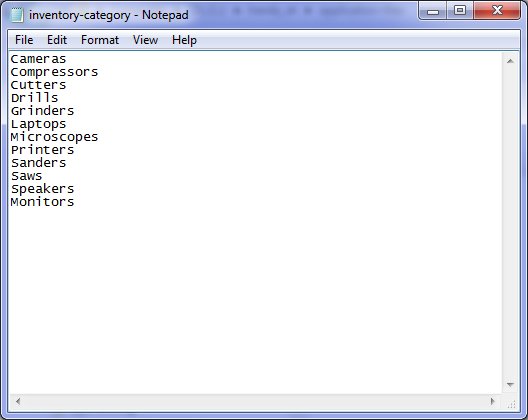
For example this text file represents short list of inventory categories.
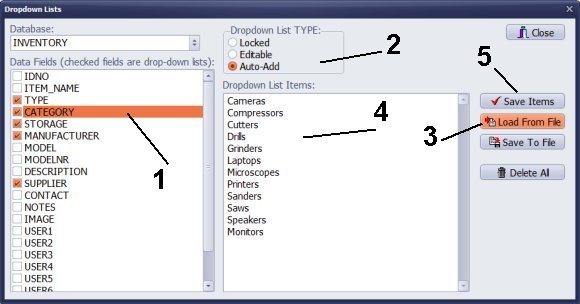
How to load list items from the text file?
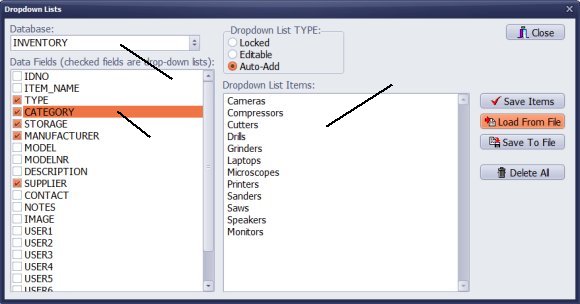
Select data field: for example CATEGORY (1) (dropdown list data field).
Select TYPE (2).
Click Load From File (3). Select your list text file.
New items are displayed in the Dropdown List Items (4) box.
Click Save Items (5).
Note: you can also type in any item directly in the box (one per line). Click Save Items to save new entries.
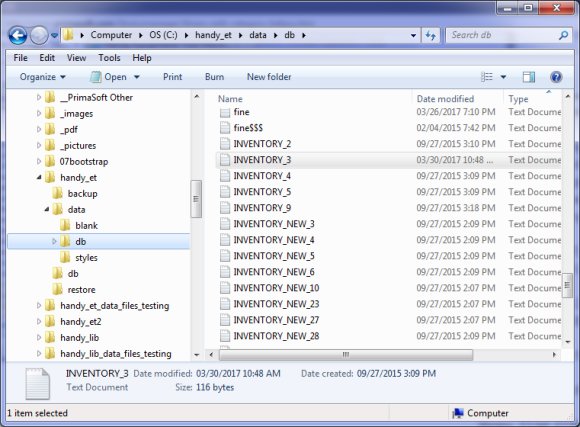
Lists are saved in the text files. DATABASE NAME plus the number. The number is equal to the position of the field the table definition, for example INVENTORY_2.txt saves TYPE list items.
We offer Handy Library Manager application for libraries that includes the same setup functionality. In addition, you can find more how-to and sample topics in the Handy Library-Setup-Options help section.
Latest equipment tracking how to articles:
How to email overdue notices to borrowers?
How to predefine email messages?
How to set automated emails with your Gmail account?
How to set automated emails with your Office365 account?
How to display checked out items in the equipment main inventory?
How to modify due dates for the checked out equipment?
Customized check-out receipt, include all items.
How to send email messages to all equipment users?
How to print group-by reports where each group starts on a new page?
How to export data from a custom view?
How to print, email check-out receipts?
How to modify the grid (number of columns, column size, column position)?
Handy Equipment Management with Check In/Out:
Handy Equipment-Tool Manager
tour
features
try now
cloud
Equpiment, tool tracking software solutions:
- office inventory tracking with check in/out
- equipment tracking, tool crib tracking with check in/out
- av, media equipment with check in/out
- police equipment
- prison, equipment tracking with check in/out
- athletic, sport equipment tracking review
- calibration management software
library software packages (included with handy e-t software):
school library
church library
non-profit org. library
business library
community library
small public library
Copyright © 2024 · All Rights Reserved · PrimaSoft PC